Delve into the intricacies of home maintenance with our comprehensive guide on removing a radiator. From understanding the necessary tools to step-by-step instructions, this article equips readers with the knowledge and confidence to tackle this task effectively, catering to both beginners and seasoned DIY enthusiasts. Whether it’s for repair, renovation, or simply to upgrade your home, mastering the art of radiator removal is an essential skill for any homeowner.
Understanding the Necessary Tools
Before you begin the process of removing a radiator, it’s essential to gather the necessary tools. Here’s a list of items you’ll need:
- Adjustable wrench
- Pipe cutter or pipe wrench
- Bucket or tray to catch any water
- Towels or rags
- Plumber’s tape
- Radiator bleed key
- Dust sheets or plastic covers
Step-by-Step Instructions
- Turn Off the Heating System: Before you start, ensure that your heating system is turned off. This will prevent any hot water from flowing into the radiator while you’re working on it.
- Drain the Radiator: Place a bucket or tray underneath the valve at the bottom of the radiator. Use a radiator bleed key to open the valve and let the water drain out. Be prepared for some water spillage, so have towels or rags handy to clean up any mess.
- Disconnect the Pipes: Use an adjustable wrench to loosen the nuts connecting the pipes to the radiator. Once the nuts are loose, carefully remove the pipes from the radiator. Be mindful of any remaining water in the pipes and have a bucket ready to catch it.
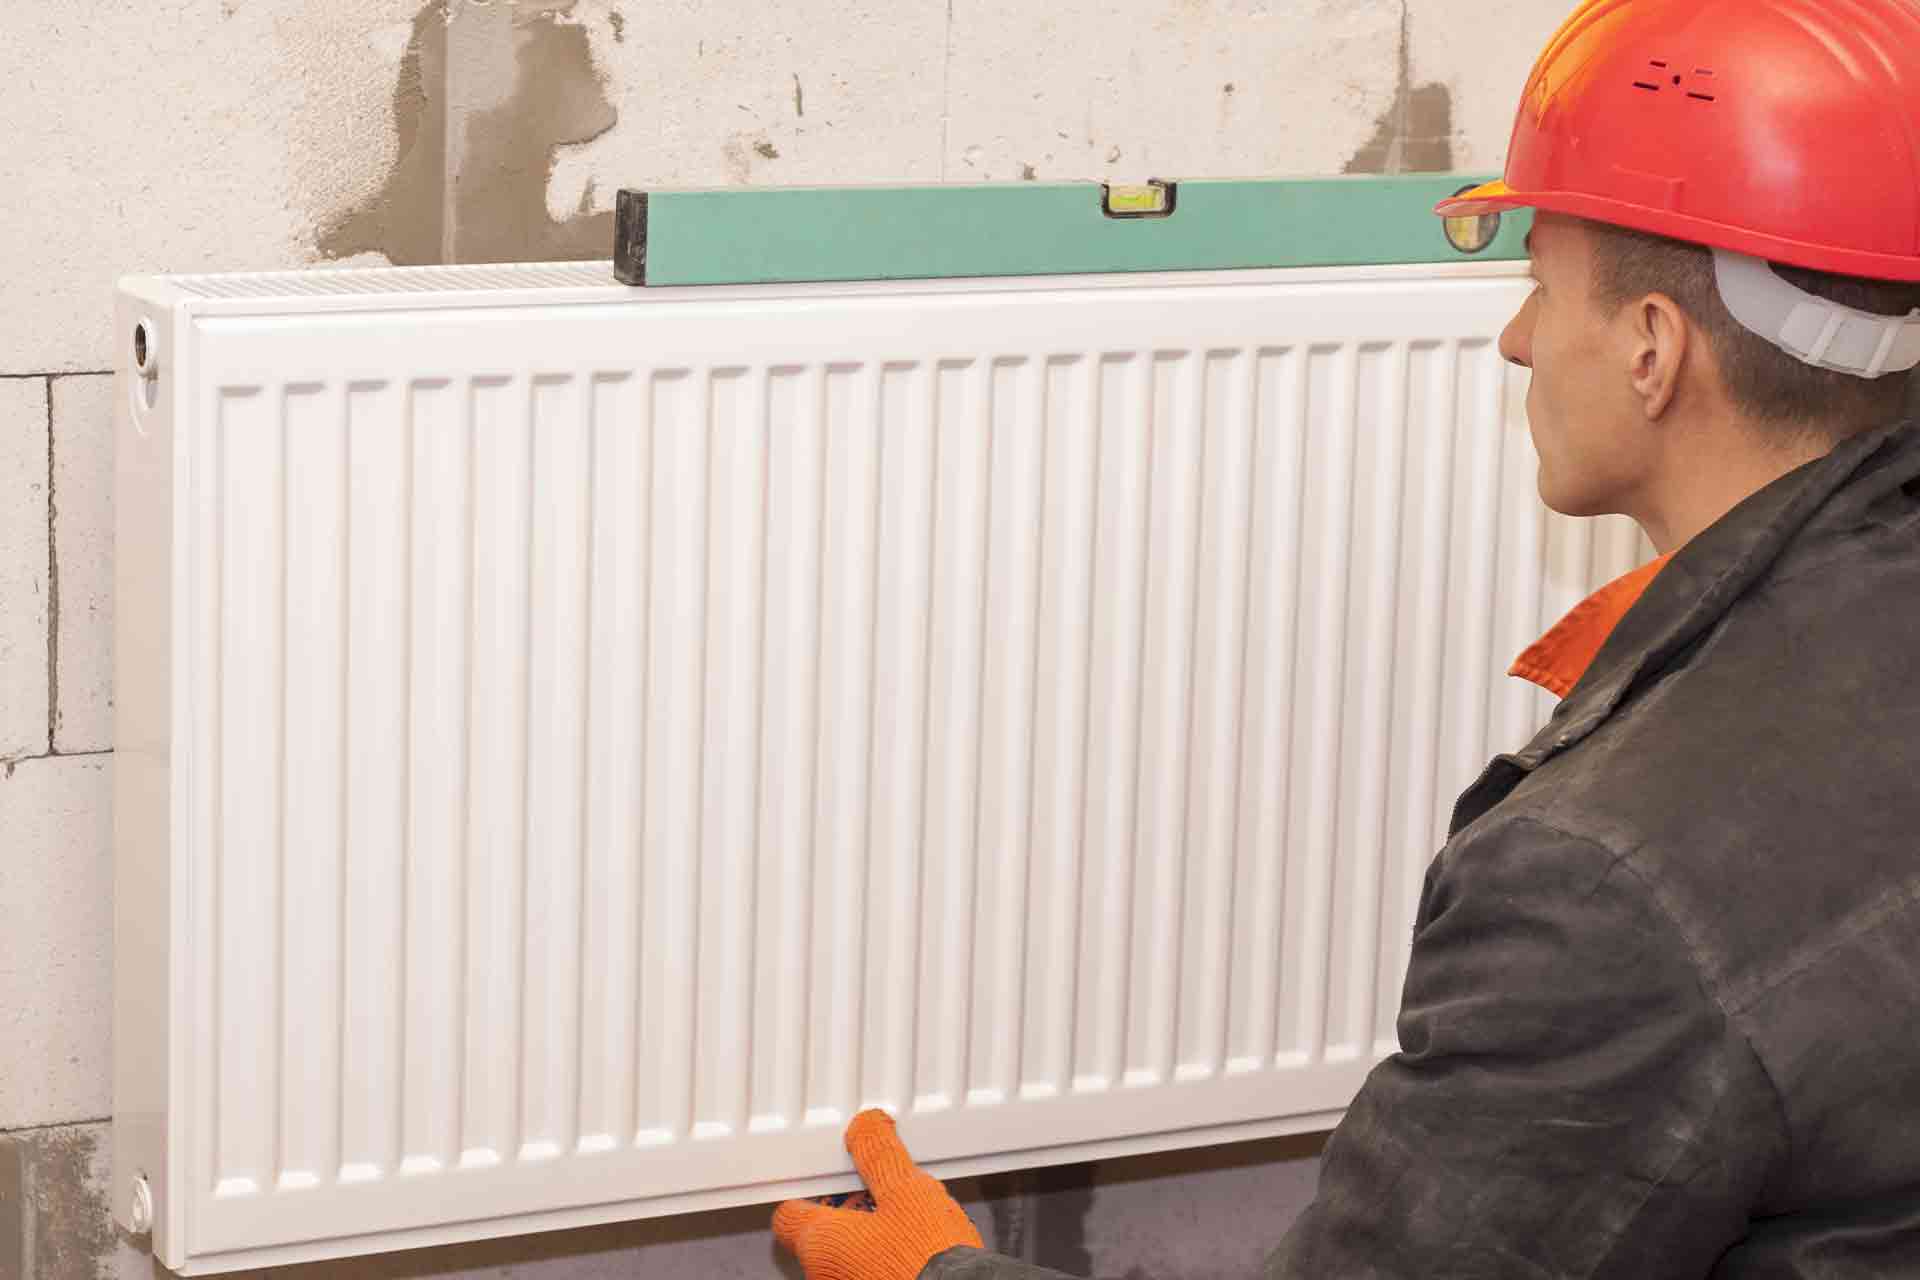
- Remove the Radiator: With the pipes disconnected, carefully lift the radiator away from the wall and place it on a dust sheet or plastic cover to prevent any water from dripping onto the floor.
- Seal the Pipes: To prevent any water or gas from leaking, use plumber’s tape to seal the open ends of the pipes.
Safety Precautions
- Always wear protective gloves when handling the radiator and pipes, as they may be hot or sharp.
- Be cautious of any water spillage and ensure the area is well-ventilated to prevent the buildup of fumes from the heating system.
Conclusion on how to remove a radiator
Mastering the art of removing a radiator is a valuable skill for any homeowner. Whether you’re looking to redecorate, renovate, or simply maintain your home, knowing how to remove a radiator is a practical skill that can save you time and money. By following the step-by-step instructions and taking the necessary safety precautions, you can confidently tackle this task and enhance the functionality and aesthetics of your home.
With this comprehensive guide, you are now equipped with the knowledge to remove a radiator effectively. Whether you’re a beginner or a seasoned DIY enthusiast, mastering this skill will enable you to take on various home maintenance and improvement projects with confidence.

